Paying extra for storage on your phone or computer can be convenient, but it’s also expensive and not always necessary.
For most of us, the biggest storage problem is photos, but using a NAS can resolve that issue.
In this article, I’ll discuss why I bought a NAS, the best NAS for Lightroom, the router you will need, and how to quickly set up your lightroom files.
Why I purchased a NAS for Lightroom?
Recently, I sold my iMac with 2TB of storage and upgraded to a new macbook air with a 256GB HD. If you’re interested in how I transferred the excess files see my post here.
After I organized my lightroom files on an external HD, I became frustrated with having to keep a drive connected to my Macbook. That’s when I decided to get a NAS.
All my files are now accessible over wifi for both my phone and computer. It even provides the convenience of watching home videos on my Apple TV. If I need a faster connection I just connect the ethernet adapter.
Having a NAS has made storage less of a problem. It’s also simplified file management.
What’s the best NAS for Lightroom?
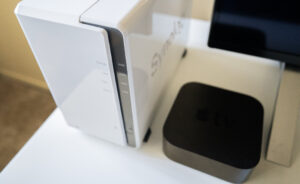
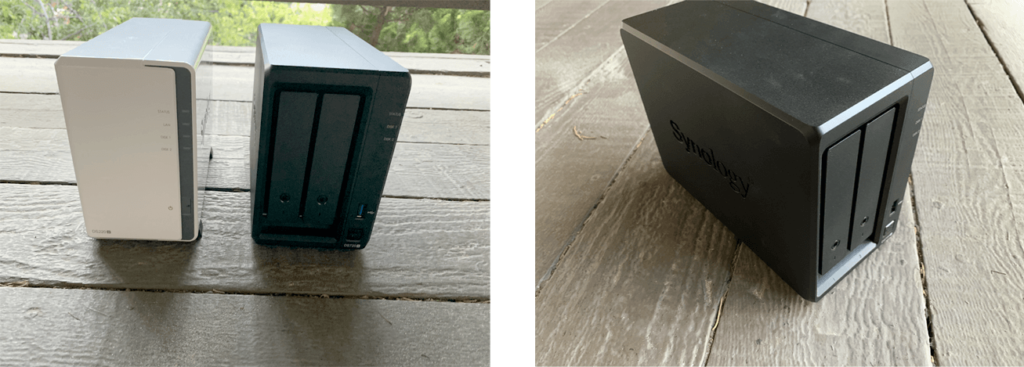
I spent weeks deciding on the best NAS for my needs. Since I mostly wanted the NAS to store files and lightroom images, I decided to go with the Synology 220j.
I found it used on Amazon for $129 and added a 6TB Seagate harddrive. I used it over wifi or with an inexpensive ethernet adapter.
After two weeks, I had problems with the Synology 220j. Sometimes it would crash if I was using it for lightroom and transferring files simultaneously. At other times it wouldn’t connect well my lightroom library.
I finally decided to try the Synology 720+. The speed was immediately noticeable. Everything loaded quicker and I had a lot fewer hiccups when connecting to Lightroom.
The overall experience was much smoother, and if you need a NAS for Lightroom, I highly recommend it over the 220j.
To read my detailed comparison of the 720+ and 220j read my other post here.
Other Synology NAS recommendations for Lightroom
QNAP makes a good NAS with a thunderbolt 3 connection, but it’s about the same speed as 10 Gb ethernet. There’s a good video about it here.
For now, the Synology 720+ with 6TB is more than enough for my needs.
What router should I use for my NAS (Wifi 5 or 6)?
I specifically purchased a wifi 6 router (802.11ax) to see if the speed was faster than my wifi 5 router (802.11ac). Wifi 6 is slightly faster, but I didn’t notice the difference.
It actually took longer for the wifi 6 router to connect to the NAS, so in my tests, the wifi 5 router transferred files quicker.
It may be worth it to upgrade to wifi 6 if you have a router older than wifi 5. I plan on keeping my wifi 5 router and will be returning the Netgear nighthawk (wifi 6 router).
How to set up Lightroom files on a NAS in 4 steps
Setting up Lightroom on the NAS is pretty simple.
#1 Keep the Catalog local
The Lightroom catalog can keep previews of your photos without having to access them, so it’s best to keep your lightroom catalog on your internal HD to optimize performance.
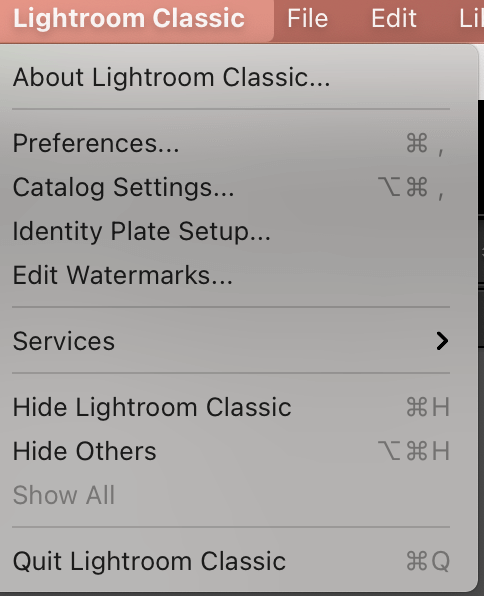
Setup your catalog by clicking “Lightroom Classic” on the top right. Then click Catalog settings. My current settings are set to medium and auto.
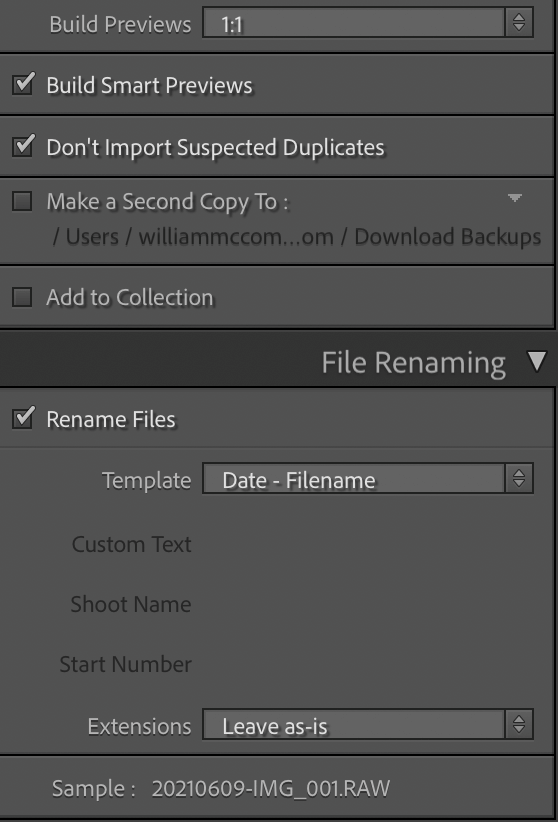
Next, make sure your import settings are set to build smart previews with the box checked for build previews 1:1.
#2 Transfer your image files to your NAS
I was able to transfer about 5000 images pretty quickly over wifi.
First, create a shared folder on your synology NAS. I labeled mine “Lightroom Server.”
Next, copy your lightroom images from your internal/external drive and drag them to your shared NAS folder.
Note: Try to avoid transferring the files over DSM for synology. It was easier for me to find the server from my files folder (Finder) and transfer the files directly.
You can also create a shortcut file for your Lightroom server on your desktop.
#3 Update folder location
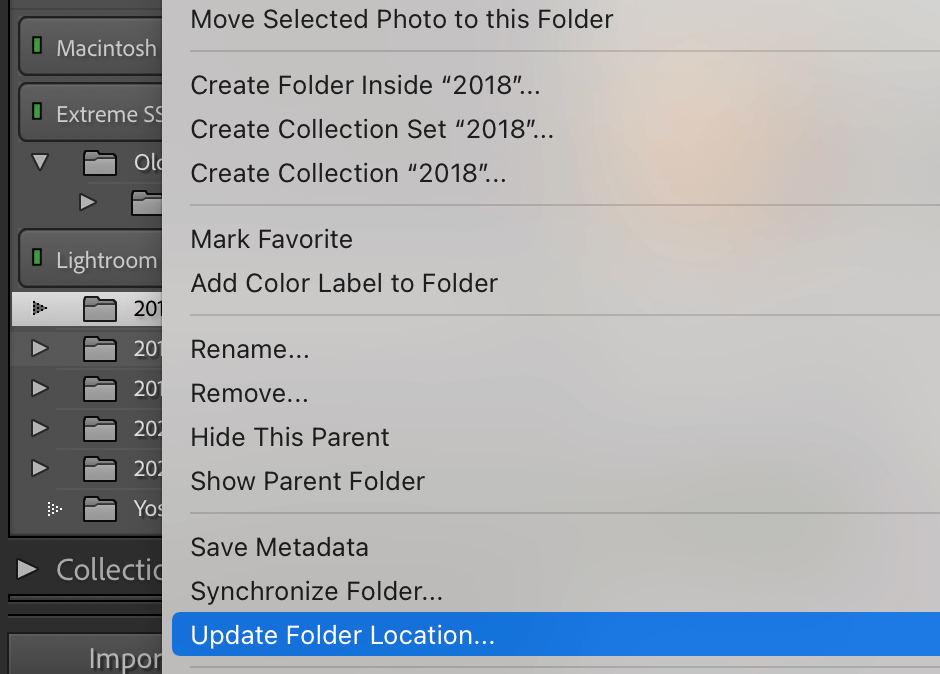
After you transfer your files to lightroom, you need to redirect your lightroom catalog to those files. You can do this by opening Lightroom and right clicking on the image folders.
Select the option that says “update folder location.”
Next, browse for the same folder located on your NAS. Continue to do this for all image folders on Lightroom.
#4 Save a backup
Honestly, I don’t need all 5000 of my images on lightroom, so I keep a backup of my best images on google drive. I also keep a catalog file on google drive.
Other free cloud backup options include
- Dropbox
- Using a separate apple account
- Amazon Photos
- Lightroom mobile
- Google Photos
Setting up time machine on a Mac can also be a helpful storage option. To learn how, click here.
Pros and Cons for using Lightroom on a NAS
Pros
- Simplified storage
- Lower cost of internal storage
- Safer backup
- Synology DSM tools
Cons
- Noisy in some rooms
Conclusion
If you’re thinking about getting a NAS for Lightroom, I highly recommend it. You don’t need the most expensive NAS or fastest router.
You’ll save money by not getting extra storage on your next computer purchase, and it will make your file organization simple.
I hope you enjoyed this post. Don’t forget to read my other article comparing the best NAS for photographers.
How to restore time machine when your new Mac has a smaller SSD?