Whether your streaming for YouTube, Telehealth, or family, here are some easy low to high budget ideas to setup your audio and video to sound and look like a professional on zoom and other live streaming platforms.
Topics in this article
- Room and lighting setup
- What camera and lenses to use
- How to setup your camera to stream
- Audio gear
- Desk setup for video conferencing
*All equipment mentioned is not sponsored
Best studio and lighting for streaming
The Room
This may seem simple, but it can actually be quite challenging. The idea is to find a space in your home or apartment that has depth.
You want to avoid having a wall close behind you. Find a space where your background is at least 6-8 feet away from you.
Next, setup up a interesting background. This could include plants, shelving, or anything that doesn’t appear too distracting.
For ideas, look at how youtubers setup their home for video.
Lighting for streaming
Please, do not use the lightbulb in your room as your lighting unless it is an LED lampshade. Regular room lighting usually looks terrible.
Lighting is more important than your room setup or video setup. Good lighting will make you look good with a poor quality video webcam.
Your key light or main light ideally should be above your head slightly angled down. Most lights look nice angled 45 degrees from your body.
It’s usually best to shoot toward the light. This means if your light is facing you at 45 degrees you camera should be pointed at your opposite side at 45 degrees. This creates more depth for your face.
Budget lighting
The best looking and least expensive setup is window lighting. All you need is a window in your room with indirect sunlight and sheer curtains to soften the light.
For the next best option I’d recommend the Sokani X60 V2 for $169 with a bowens mount soft box or umbrella.
You may be using your iPad or iPhone right now for video chat, and honestly it’s not a terrible choice if you have good lighting.
What’s the best camera for zoom calls?
To make your video pop a little more You need to add Bokeh. This will keep you in sharp focus and blur the background.
To do this, you need a decent camera and a lens with an aperture of 2.8 or wider. If using a full frame camera you can use an aperture as wide as f4.
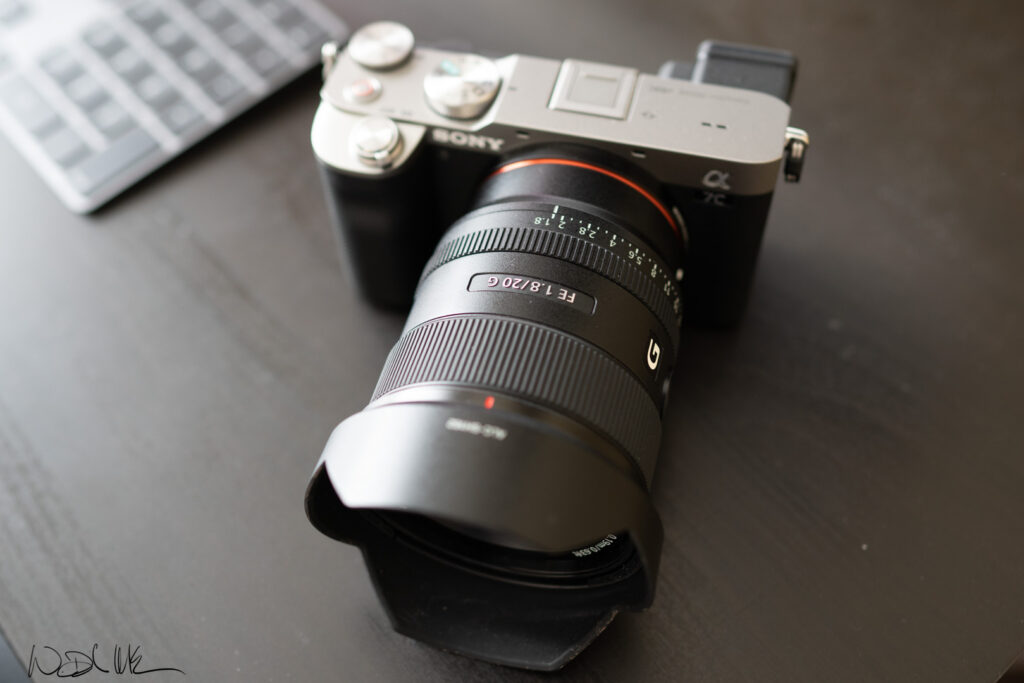
The Camera
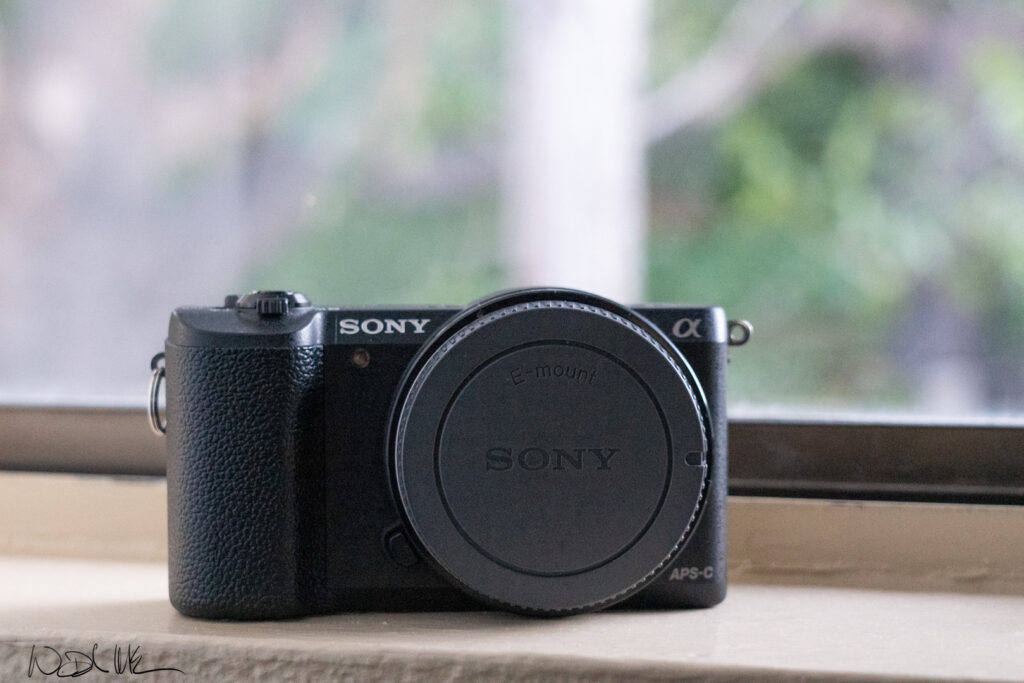
Sony a5100

They sony a5100 is older but still works as an excellent video camera. You can usually get it used around $200. It has a flip screen, so you can see yourself and has face tracking.
The Sony a5100 is older but still works as an excellent video camera. You can usually get it used around $200. It has a flip screen, so you can see yourself and will autodetect your face.
You really don’t need anything better than this, but any other Sony, canon, or Nikon camera will work as long as you have an HDMI output.
The lens
- Pergear 25mm 1.8 *manual focus $69
- Viltrox 23mm 1.4 $299
- Sigma 16mm 1.4 $359
The pergear lens is the cheapest option and the downside is it’s manual focus, but it provides great quality for the cost. If you decide you want a wider lens you might also go with the Samyang 18mm 2.8 for $279 or sigma 16mm 1.4.
Accessories
- Tripod
- Dummy battery for constant streaming $27
The best microphone for zoom
Best USB mic for zoom (budget option) (best YouTube mic)
Blue yeti $129
Best microphone to use with Zoom
Rode Procaster $229
Both of these microphones sound great, but if you want the Rode Procaster you will need an audio interface. The Procaster is the better mic if you want to reduce background noise.
Best Audio interface for Zoom
Evo 4 $129
Settings
Once you have the camera and lens just set the camera mode to video with video record settings set to 30p. Set your frame rate or shutter speed to 60 and iso and white balance to auto.
If you’re using a sony Camera you will need to have the USB connection set to PC remote when streaming. For some the reason the a5100 requires the camera to be in auto mode first and then set to film mode.
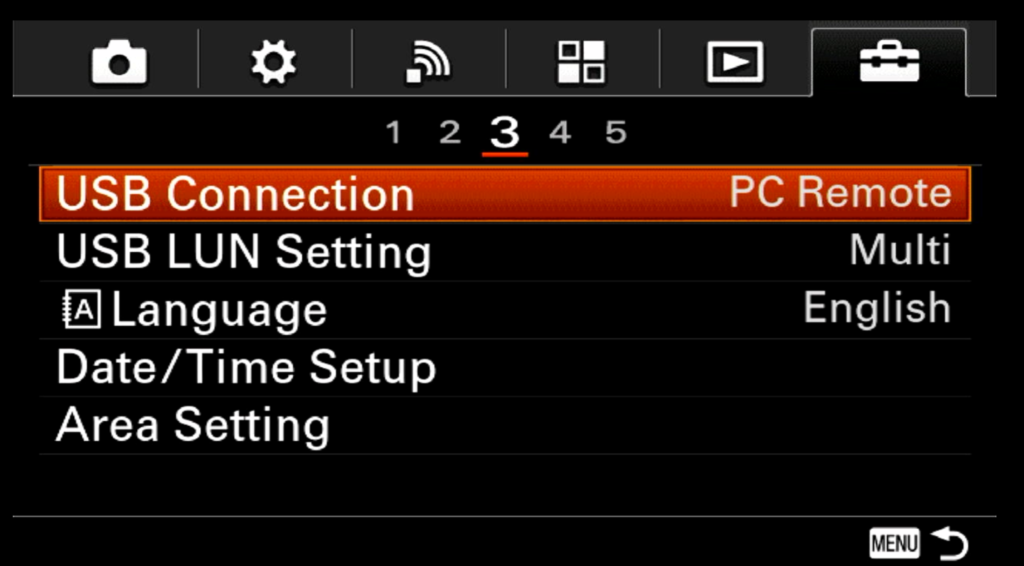
You can override this by purchasing a streaming stick. I got mine for $15 on amazon here. Any of the cheap capture cards seem to work pretty similar to the expensive ones.
The last step is to go to the HDMI settings and turn HDMI info display off. This will make sure your camera settings don’t show up in your conference feed.
If you want to live stream for longer than the battery will allow, you will need a dummy battery. The a5100 will stream until the battery dies and the only way to fix this with a dummy battery.
You can pick up a dummy battery here for $27.
Using sidecar on the iPad as the perfect video setup for Zoom
I understand this setup only works if you have a Mac, but if you have a laptop it should work about the same.
The problem of using an external camera is the people you are speaking with won’t see you looking at them unless you look at the camera.
If you have a laptop you can place the camera just above the screen to minimize this problem.
In my case I have an iMac, so it’s more difficult for camera placement. There’s a new feature called sidecar for the iPad, that allows me to share my iMac screen with my iPad. First you will need to enable sidecar.
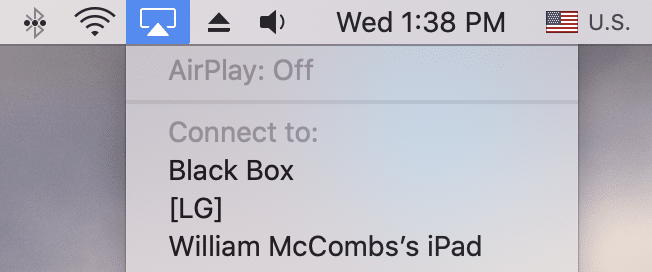
After clicking on my iPad under the airplay tab, I can use it as an external display to place under my camera. See below.
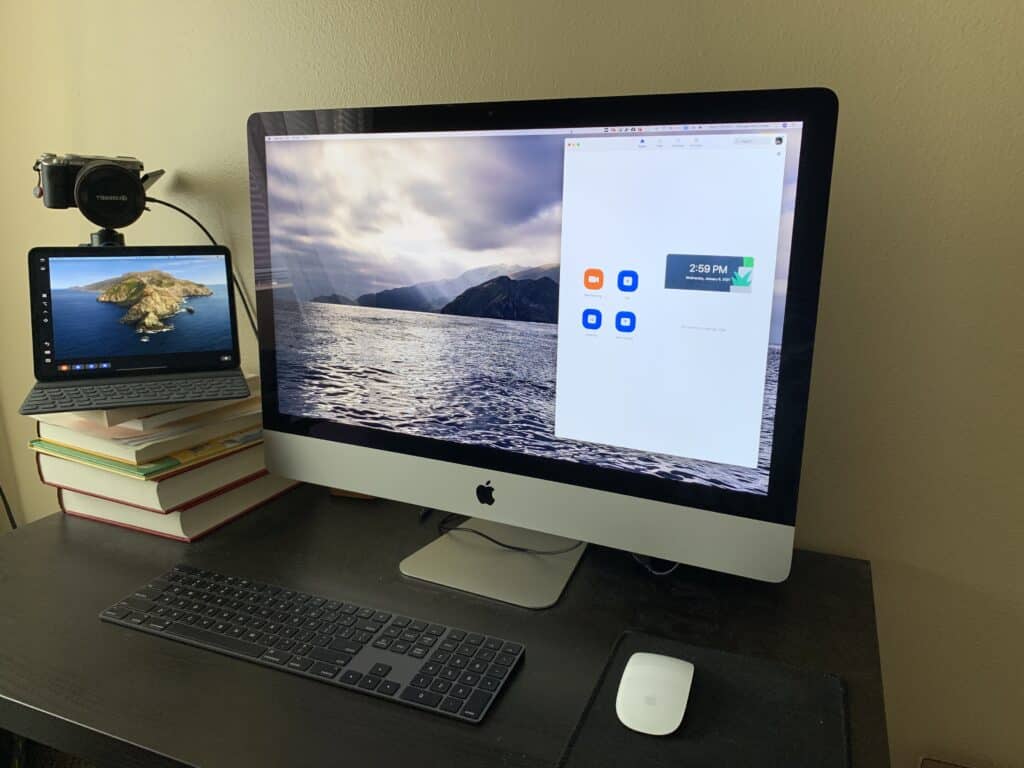
Stack a few books underneath the iPad and you now have a monitor to see yourself, the conference caller, and your camera. This will also make it easy for the caller to see you.
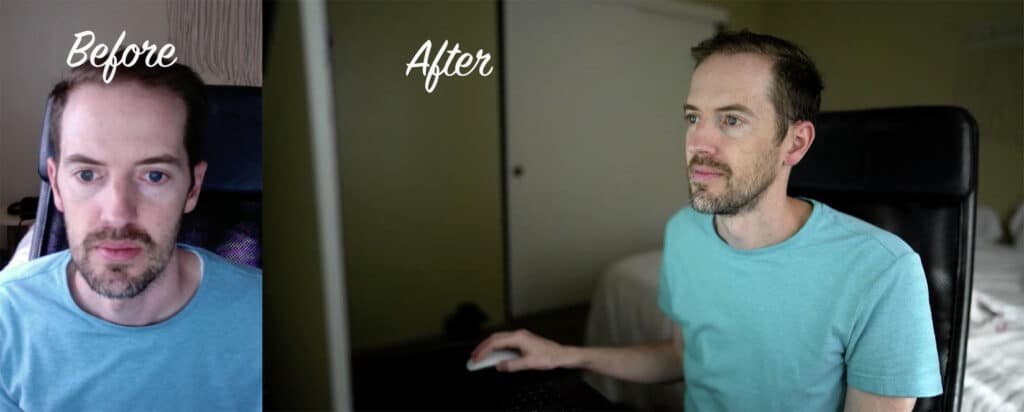
Below are the before and after video screenshot with my iMac webcam and Sony camera.
I hope this guide helped you get a better idea of how to setup your audio and video for live streaming.