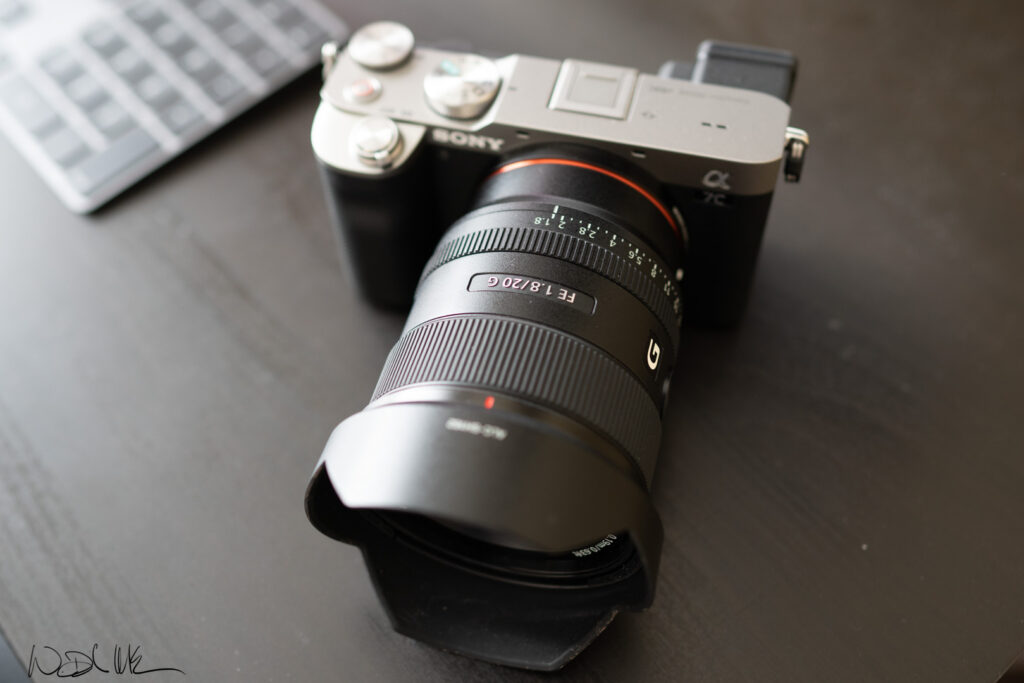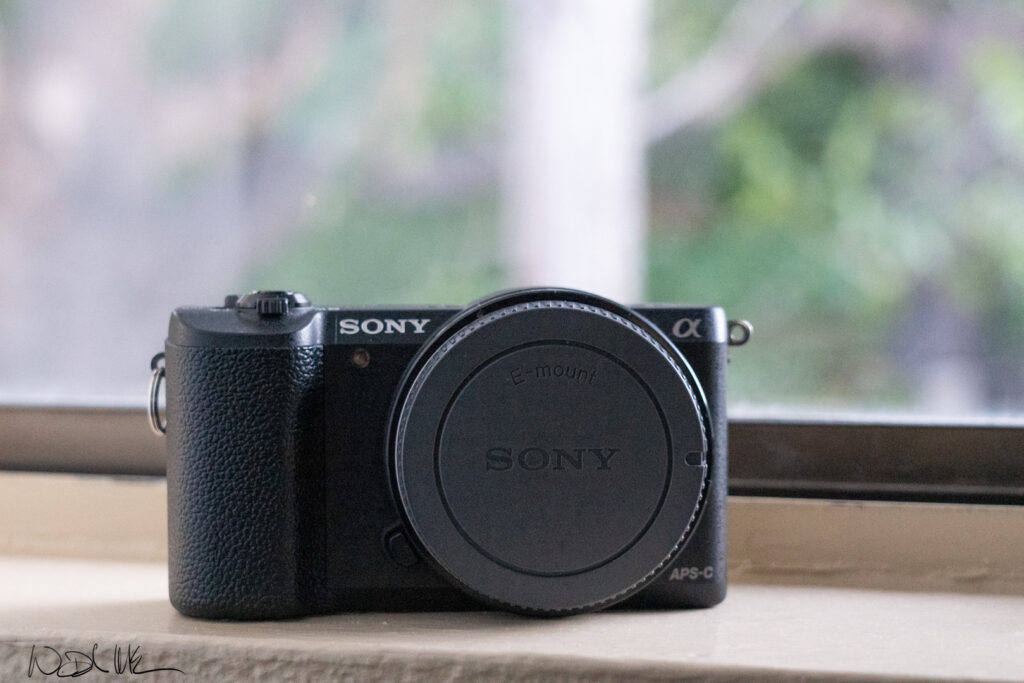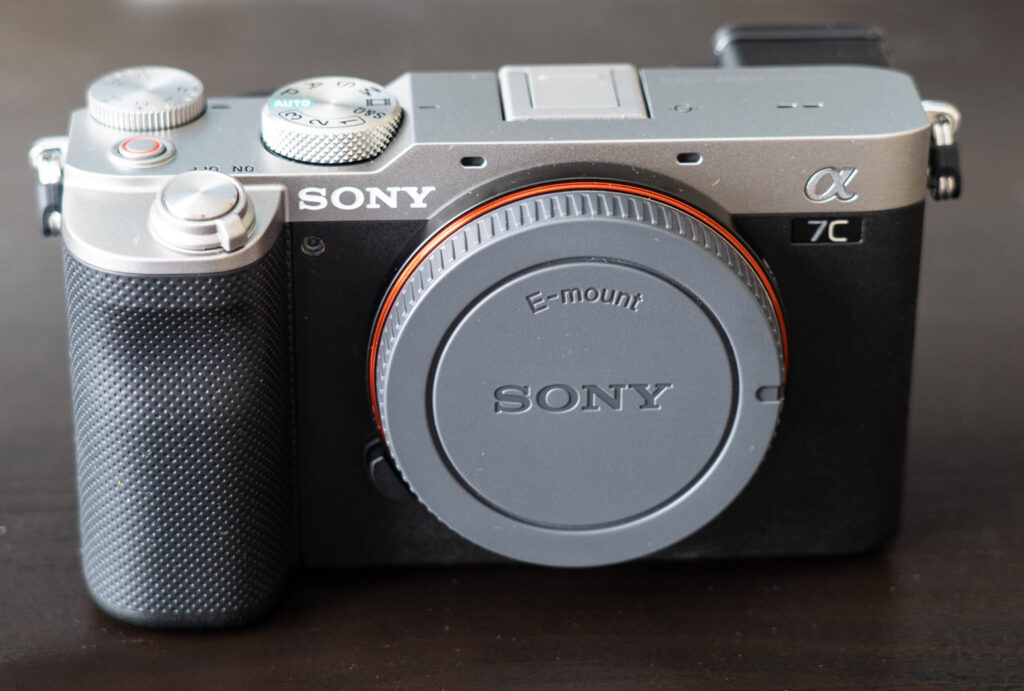
I’ve been using the A7iii and A7riii for the last few years, but recently, I decided to shoot an entire wedding with the A7c.
I’ll be honest, I had a little bit of anxiety shooting without a thumbstick and a single card slot, but after mapping the custom functions and planning it all out, it wasn’t all that bad.
So how do you use the A7c for wedding photography?
The most important thing to know is to use custom menus you can rely on and understand how to create a backup solution that won’t fail.
Challenges
Shooting with a single card slot
Right before the shoot, my biggest concern was shooting to one card slot and losing all my data from a failed SD card. But there’s a way around this.
The video below shows you how to turn your camera into an FTP server to load images directly from your camera to your phone. It takes a few extra steps but removes the need of shooting with dual card slots.
You will have to download the latest firmware, and spend at least 20-30 minutes setting it up, but it works. I didn’t end up using it, because I didn’t want the FTP server to drain my battery during the shoot.
In practice, this idea is phenomenal for a backup solution, but I’m still not comfortable with it. Instead, I copied all my images to a desktop and external hard drive right after the shoot to ensure I had 3 backups.
Not the safest way to shoot a wedding, but it worked.
Shooting without a thumbstick
If you’ve used a camera with a thumbstick before, you know how beneficial this can be to lock focus fast. I love the thumbstick, but with the A7c I didn’t have this option.
Before the shoot, I set the center button of the control dial to standard focus and used the control dial to move my focus points.
For most of the wedding I used eye autofocus, but when there were too many faces in a shot, it was easier to just quickly touch to focus.
The touch screen was intuitive and quick, but I still prefer the thumbstick.
My A7c custom settings
I’ve used back button focus for years, but with eye autofocus, I don’t use it anymore. Instead, my focus button is set to the default shutter button (Half pressed).
If I’m not using eye autofocus, I use tap to focus. Below you’ll see my custom settings.
- AF-on button
I use this button to switch between right or left eye, so I can stop down my aperture and the closer eye in focus.
2. Focus Mode
I always have a dedicated button for focus mode, so I can quick change between action or stills.
3. Focus Standard
Focus standard is the button that allows me to use the control wheel as a thumbstick. It helps me to quickly move the focus points on the screen, but it can be cumbersome at times, and why I prefer touch to focus on the A7c.
4. Drive Mode
This is Sony’s default setting.
5. ISO
This is Sony’s default setting.
6. Focus Area
Another must have custom button. I only use wide or flexible spot.
7. Focus Hold Button
I always set this to eye AF. It’s just a good button to have if you changed your focus settings and need to quickly switch back to eye AF.
How the A7c compares to other cameras
If I was shooting weddings full-time, I would probably use a different camera just for peace of mind. But that doesn’t mean you can’t use it for wedding photography.
Today the A7c isn’t considered a pro-level camera. It doesn’t have the fastest autofocus, eye detection, and custom buttons that are offered in more professional cameras, but I was able to get some pretty incredible images with just eye autofocus and a great full-frame sensor.
The Sony a 7C showed me that you can use a consumer level camera to get pro results. If you have to get those action shots then go with the Sony A9 or Alpha 1, but if you’re just starting out in photography or filmmaking, the A7c makes perfect sense.
I love the A7c, because it’s a jack of all trades. It’s one of the smallest full-frame cameras so it’s easy to take hiking or backpacking, but it’s also quite useful for other scenarios like filmmaking, wedding photography, or portraits.
It’s also great for Astrophotography and would make a good low-profile camera for documentary or editorial photography.
If money was not a factor, I would use the Sony A1 for wedding photography and the Sony a7c as a backup camera.
This would allow me to get all the action shots with the A1 and have a lightweight secondary camera for less formal activities.
Image quality
The A7c has the same image quality you will find in the Sony A7iii. The 24 megapixels are more than enough for cropping and the full-frame sensor gives you incredible dynamic range you won’t find in most other cameras.
Below are a couple cropped images from my recent shoot.

Recommended Accessories
Here are my top recommended accessories for shooting weddings with the A7c
– Extra battery (Must have)
– 3x 64 GB SD cards type II
– Off camera flash
Lenses I shoot with
I’m not like most wedding photographers. I like to shoot with primes and zooms with image stabilization. These are the only 2 lenses I used for this wedding.
- Sony 24-105 f4
- Sony 85mm 1.8
I like the 24-105mm f4, because when shooting couples you don’t need wide apertures. The lens works perfect for everything I need, and I can slow the shutter with the image stabilization. It’s also a good fit for the A7c, because it’s not too big.
The 85mm 1.8, is just my favorite portrait lens. I’ve used it for years, and I don’t ever need an aperture wider than 1.8. In fact, I usually shoot at f2 or 2.8
Other lenses I recommend
If I was shooting weddings full time, these are some other lenses I would consider for the A7c. They’re all lighter in weight and better balanced for the A7c.
Budget options
- Samyang 75mm 1.8
- Tamron 70-180 2.8
- Tamron 28-75 2.8
A7c workflow and delivery
Last but not least is my workflow for saving files and delivering them to the client.
Here’s what I use.
- External SSD
- NAS (Synology 720+)

Backups
Backups on the A7c should be your number one concern.
Immediately after a photoshoot, I always back up my files to my Macbook. First, I copy the files directly from the camera to the computer via a usb-c cable, so I don’t tamper with the SD card.
Next, I copy the files to a local folder on my laptop and make another copy to my external drive. The external drive is the SanDisk 1TB SSD. It’s fast, reliable, and relatively inexpensive.
Delivery
When I have time, I’ll transfer the files to my Synology NAS. To read more about my NAS, check out my other article here.
Next, I’ll begin importing the files to Lightroom.
After editing, I’ll export the files from lightroom as Jpegs to my Synology NAS with a folder for the client. I’ll share the folder from my NAS with a password, so the client can instantly download the files from anywhere.
On my last trip, I edited all the photos in Lightroom on my flight home. When I arrived at the airport, I was able to create a shared folder on my NAS and upload the Jpegs. Within a minute, I had the files uploaded and was able to send a link to the client to download the photos.
Using a NAS to deliver photos to your client not only makes you look professional, it makes your job easier.
Conclusion
The A7c isn’t considered a pro-level camera, but if you were to compare this camera to other models a few years ago, there would be no competition.
It’s fast, lightweight, and provides exceptional image quality. It also makes a great camera for any wedding photographer.
I hope this review helped.
Some of the links below are affiliate links. This means that, at zero cost to you, I will earn an affiliate commission if you click through the link and finalize a purchase.